The techniques for gilding of decorative objects
The gilding of ancient objects was performed through various techniques: gold leaf, pastille, dusting, etc.
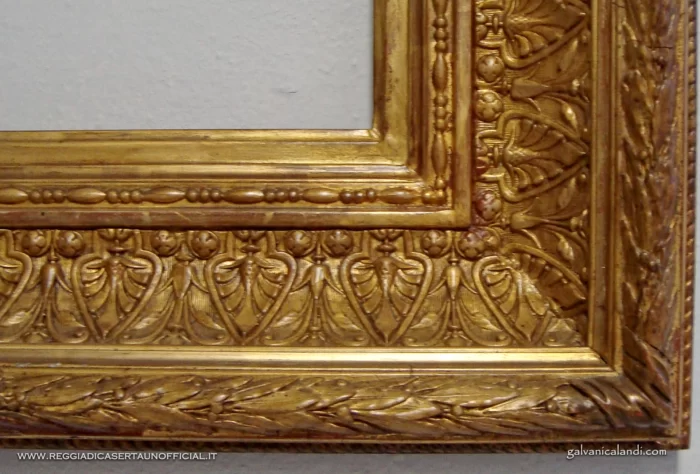
The gilding, due to its typical sumptuousness and luster that it is able to give to objects, has always been widely used in decoration, and there are various methods to use it for this purpose.
How do you distinguish real gilding from fakes
How you can distinguish a genuine gold plating from a false one;a gilding mission by a gouache? Obviously you need a lot of attention and experience, but we can say that:
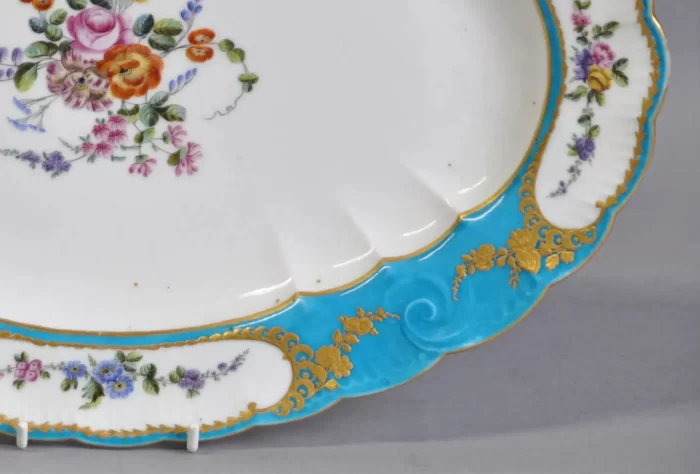
In antique porcelain the fire gilding is clearly different from the mission, because the fire gilding is a lot more vivid and shiny.
If it’s gouache, it should dissolve the glue and let the gold leaf peel off. The mixtion is being generally oil-based is not sensitive to water.
Gold application techniques
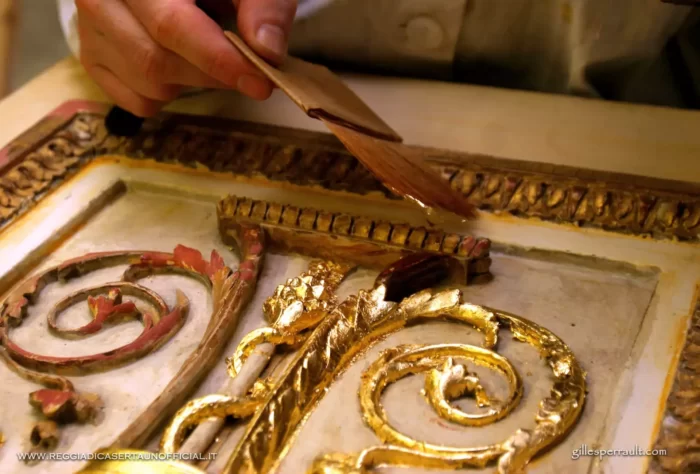
Gold leaf gilding (also called gouache)
This is the most difficult process, but it provides the best results. The same procedure is adopted also for the imitiation gold leaf, silver or aluminum. The following procedure is the same as the old one, with the only difference that now the gold is no more hand-hammered into thin layers, but it is industrially made.
- On a rough and perfectly cleaned wooden support, put an adhesive layer made of hot rabbit skin glue mixed with gilder’s gypsum(Bologna gypsum), but avoid the boiling, or it will lose its adhesiveness. When the plaster is ready, apply it with a brush where you want to gild. When dried you have to perfectly smooth the surface, to avoid lumps that will be clearly visible after that the gold leaf will be applied.
- Now apply the bolus (yolk mixed with red clay), that on the market is available in red, yellow and black colours. The bolus creates a sort of film, that, once dried, become the support to apply the gold leaf.
- To paste the gold leaf you have to paint a small area with isinglass diluted in water. Using the gilder’s knife, lift the gold leaf and lay it on a deerskin pillow; cut the leaf into regular strips a bit larger than the area to cover. To lift the gold leaf you need a brush made with vaio bristles (an animal similar to the squirrel), rub this on your face to electrify it, then lift the strips and place them on the surface, avoiding wrinkles.
- When the glue is dried, polish the surface with agate stone (browning). Grease the agate with wax for a better sliding. Remember that the pressure may damage the gold leaf.
- For an antiquing effect, brush the surface with a mixture of water, rabbit glue and brown clay.
Video: the goldbeater
Video: gilding
Gilding with mixtion
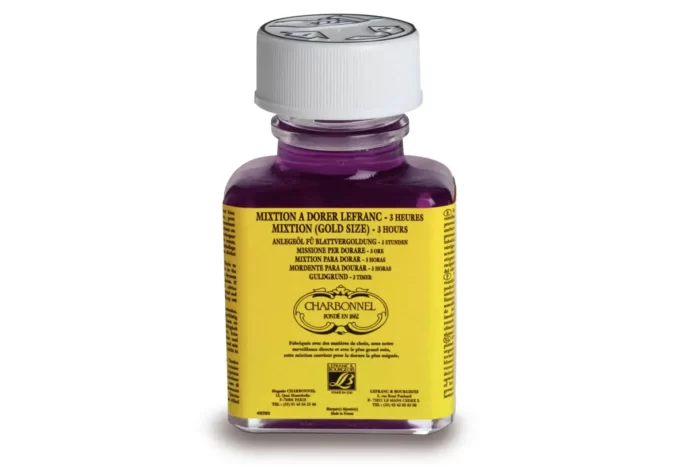
Cover the surface to be gilded with a special adhesive paint (called mission). When it is almost dry, but still sticky, leans over the leaf, and stick it via pressing it with a cotton ball or with an extremely clean brush. When finished, if you want to get an antiquing effect apply the same procedure used for the gold leaf gilding. The gilding mission in regard to the gold leaf can’t be burnished with agate stone, and so it is less shiny, but because it is much easyer to apply, it is very useful especially for extremely sculpted baroque furnitures.
Video
Honey gilding
Method created in the Sevres porcelain factory around 1750. It is composed of a mixture of honey and gold dust, and was used to gild especially small objects and porcelain. To fix it, a low-temperature cooking was carried out. The appearance is always opaque, and the opacity increases with increasing temperature.
Fire gilding (mercury or ormolu gilding)
The birth of the fire gilding focus is controversial: maybe born in the fourth century b.c in Greece, but became common only in the Roman Empire; around the II-III century a.d in appeared in China during the IV-III century b.c.
It is used almost exclusively for the gold plating of the metals, but sometimes also for porcelain, especially during the Empire style period (1800-1840).
hot melting gold in mercury;
wet the object with nitric acid, and cover it with the mixture of gold and mercury;
heat the object in a high temperature oven, or with a blowtorch, in order to evaporate the mercury, leaving the gold visible.
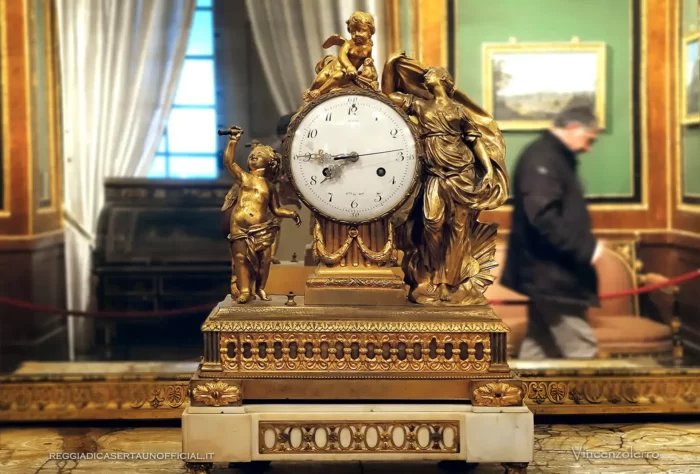
The procedure is very harmful to health due to the toxicity of the mercury fumes and today it is almost in disuse; it was instead in vogue in the eighteenth century to gild the bronzes that decorated the Louis XV (Rococo), Louis XVI (Neoclassical) and Empire (late Neoclassical) furnishings, but due to the many premature deaths of the gilders, it began to be replaced since 1860 from the new galvanic gilding.
Gilded mercury clock in the King’s Study
Video
Gilding with decal
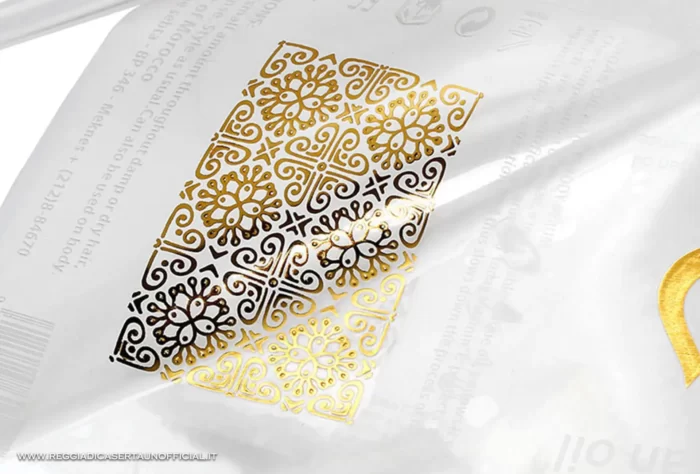
Industrial method created around the middle of 1700, and used mainly for the porcelain. The color is placed on a matrix and then engraved on a suitable sheet. This sheet then is pressed on, for example, a plate, and the drawing is transferred. It is used both with the colors or gold. It easy to be recognized, because are clearly noticeable the joint of the two sides of the sheet. At the end of 1800 it evolved in lithographic printing. It has no artistic value.
Video
Galvanic gold plating (or electroplating)
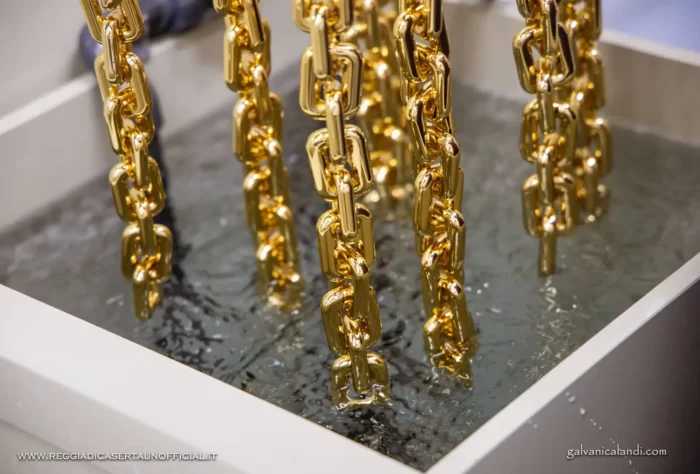
Electroplating is a process used almost exclusively to give a better appearance to common metals, coating them with more noble metals such as, for example, gold, silver, platinum, rhodium, nickel, chromium, or to coat the inside of objects of table silver. It is an electrochemical procedure in which, by inserting the metal to be plated and the noble metal (acting as negative and positive pole) into a liquid (galvanic bath), when current is crossed by them, the metal which acts as positive pole gives up its particles depositing on the other metal. Being an industrial process it has no artistic value, if an ancient object is restored in the gilding through this method, it loses much of its value.
Galvanic gilding was invented in Italy in 1802 by Luigi Valentino Brugnatelli at the University of Pavia, using the newborn galvanic pile, created by Alessandro Volta.
Video
EXTERNAL LINK

